Gen III Battery Relocation
(by Bob Tom - tigers@bserv.com)
![]()
Gen III Battery Relocation
(by Bob Tom - tigers@bserv.com)
![]()
| Note: Click on any picture to bring up a full size version in a separate window | |
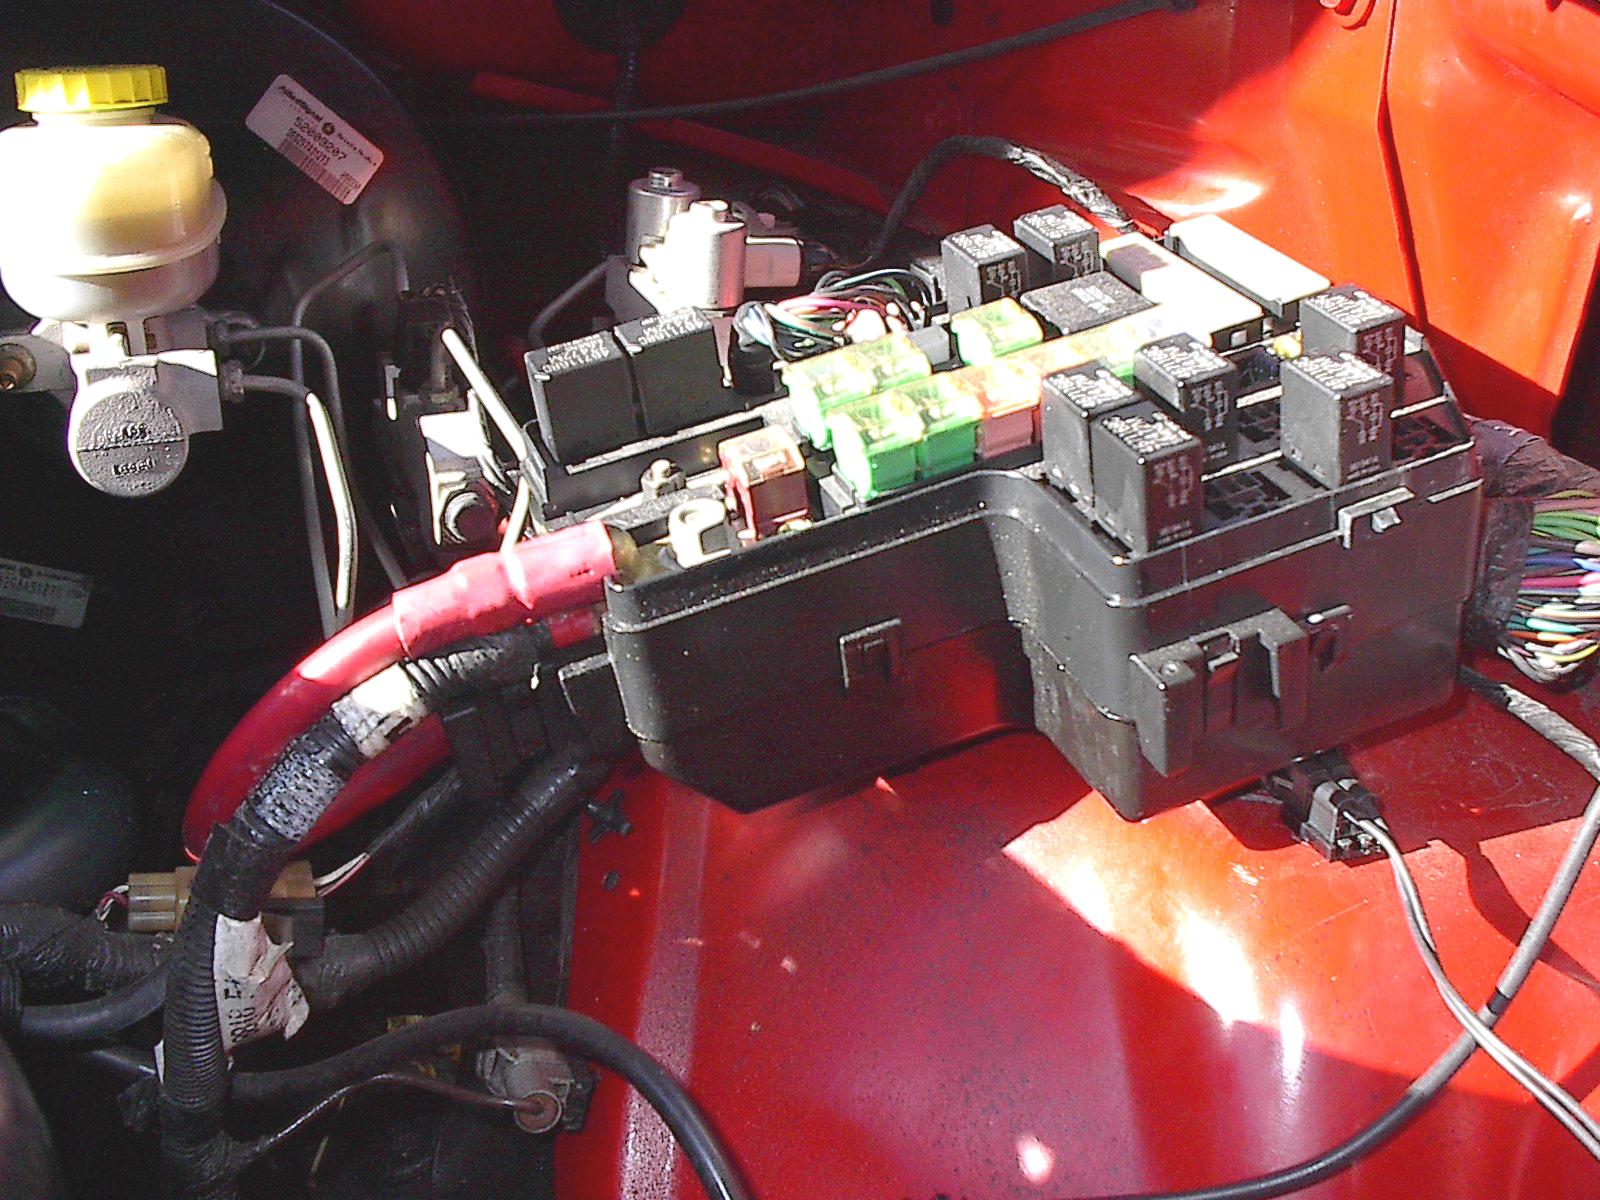 |
poscable.jpg shows how the positive cable is hooked up in the front. The hookup is to the Power Distribution Center. The upper red cable is the one that runs to the cut-off switch in the rear. The lower black cable which is hooked up at the same spot as the red cable is the stock cable that normally runs to the positive post of the battery. You will need to cut off the end part of this cable and attach a connector in order to attach the cable to the PDC. Note: The original, uncut, stock cable runs to the battery's positive post and then a smaller cable runs from this post to the PDC. |
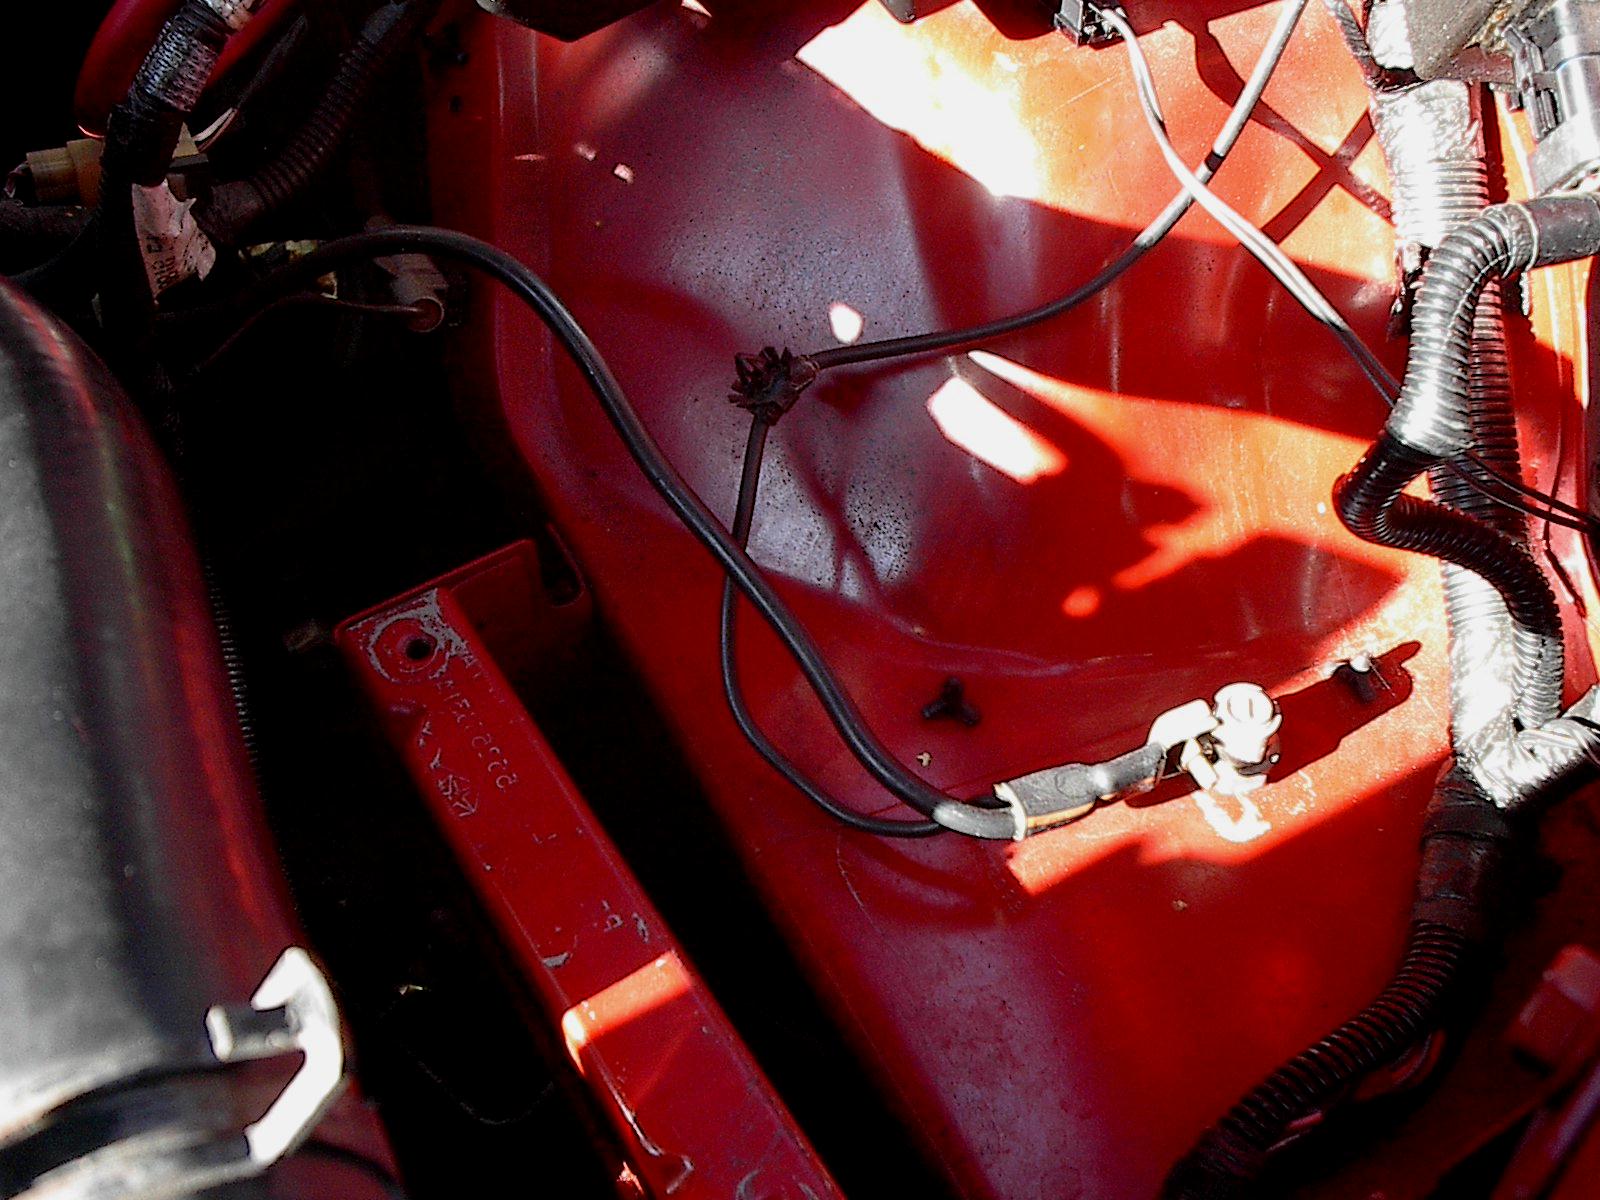 |
negcable.jpg shows the setup that I used to do a negative post hookup in the front. This allows me to charge or jump a battery from the front. I bought a battery post and attached it to a nearby, existing hole in the sheet metal. I then just attached the stock, negative cable to it. |
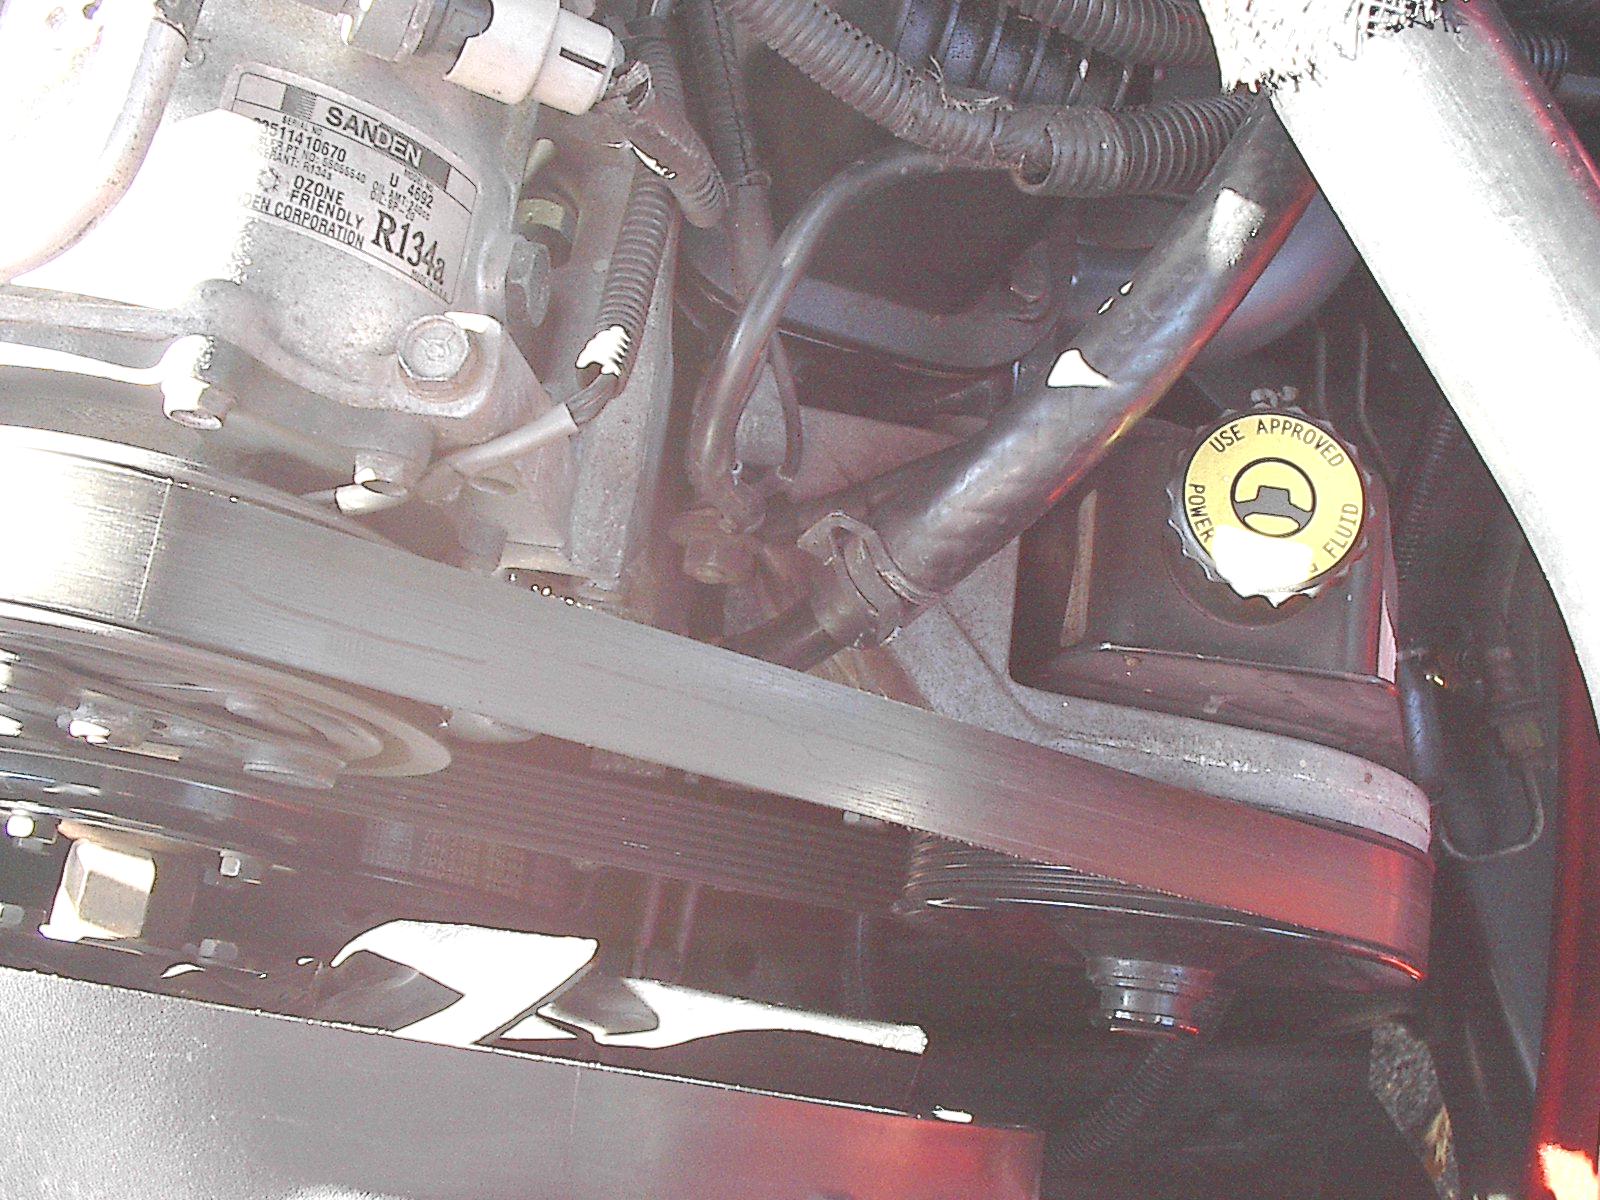 |
ground01.jpg shows how I grounded the block to the frame. You might not need to do this if your truck isn't a club cab. One end of the ground cable is attached to the bracket attachment of the power steering unit and pulley. The upper black cable (running from the wiring harness) is the stock ground on the '97. I don't remember where the other end is attached but it doesn't provide a "strong" enough ground when relocating the battery in the back on a club cab. The ground cable that I used is attached behind it. It's the bottom black cable which runs towards the ps cap and disappears in the pic under a hose just before the cap. |
 |
ground02.jpg shows where I connected the engine block to the forward frame. I put a copper plated connector on the black cable. |
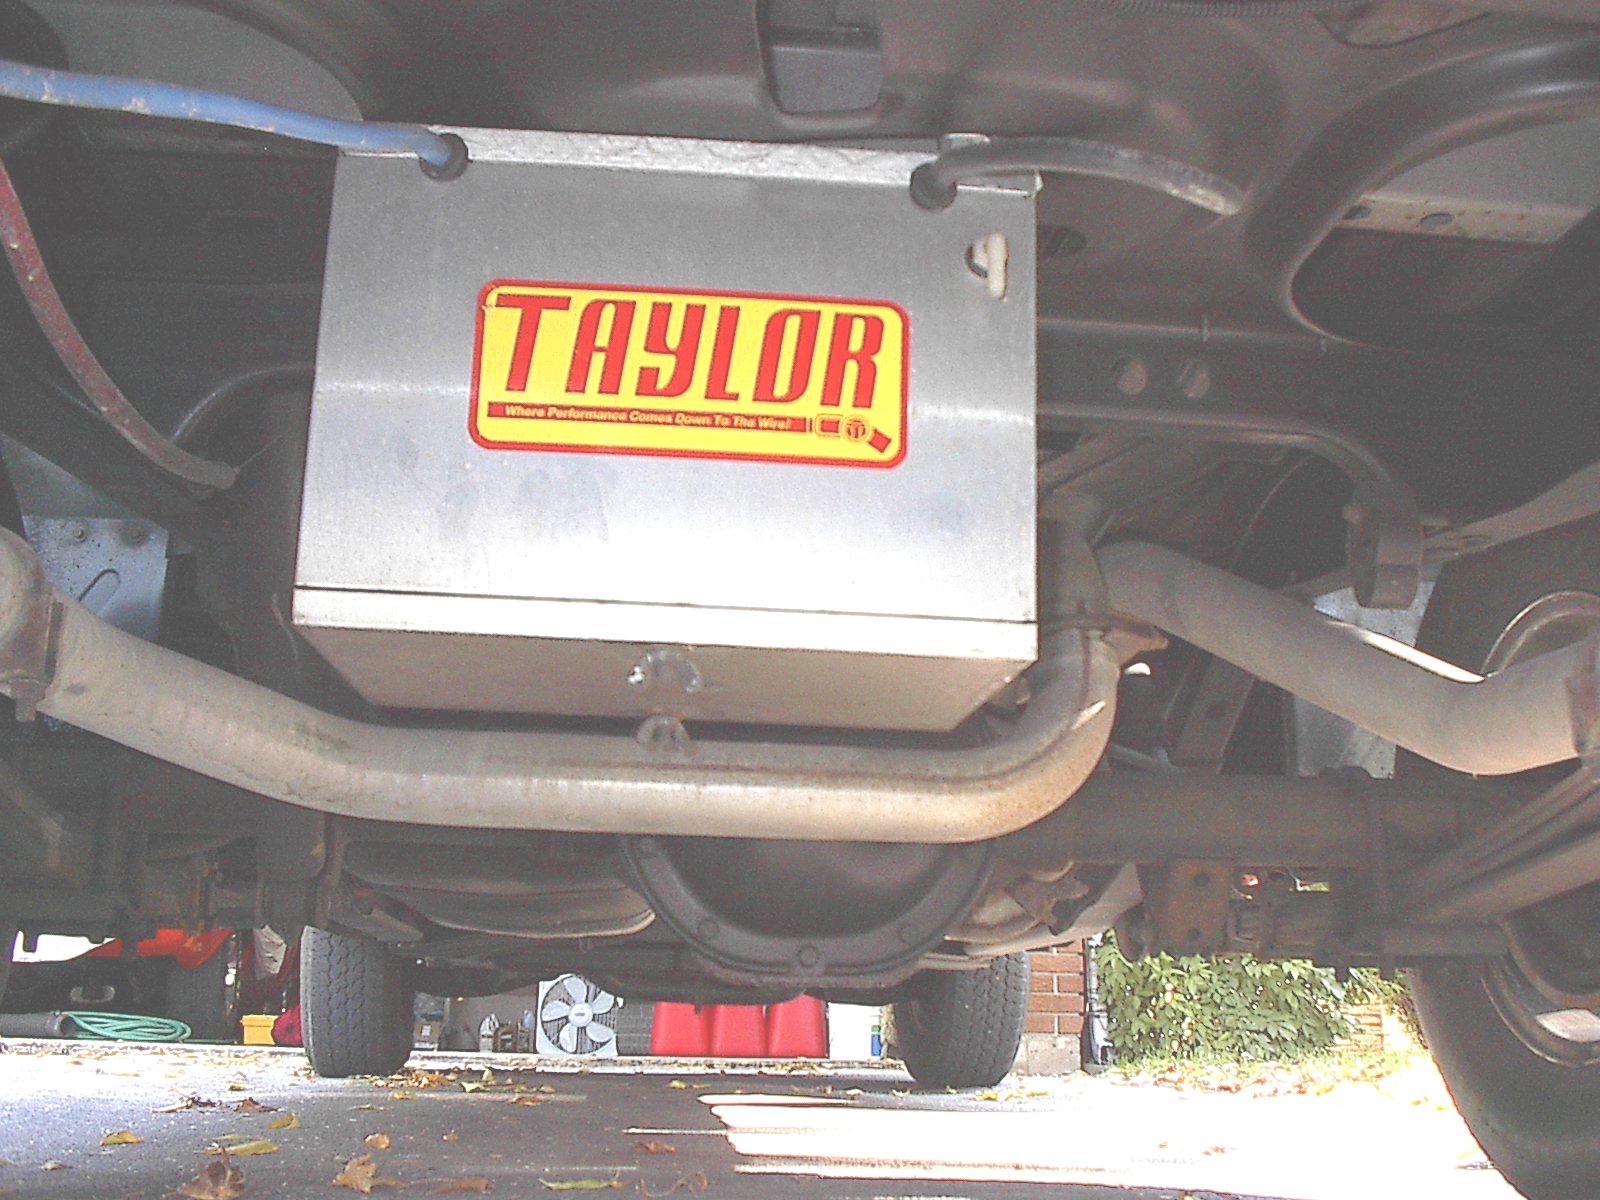 |
The blue cable is the power cable running from the switch into the box. The battery is an Optima, upside down. The black cable runs from the battery's negative post and is grounded to the metal where the spare goes. I have a hard bed lid so I carry my tire(s) in the bed. I would have preferred to attach the box on the pass. side but the box is a better fit over on the driver's side and requires 1 less hole to be drilled into the frame. I compensate at the track by staggering air pressure in the tires. I found that the Taylor Battery Relocation kit contained most, if not all, the installation hardware that was needed at the rear. I believe Morosso (sp?) also has a kit that's sanctioned. |
 |
As you can see, I like to keep drilling new holes to a minimum so I removed one of the license lights and put the switch there. One lamp lights up the plate pretty well. The cutoff switch is a Morosso. |