MOPAR 4X4 TOW HOOK INSTALLATION EXCERPTS
P/N 82204668
1998 DAKOTA 4X4
![]()
MOPAR 4X4 TOW HOOK INSTALLATION EXCERPTS
P/N 82204668
1998 DAKOTA 4X4
![]()
I'm gonna be skipping a bunch of instructions and just get to the part that was difficult or unclear so make sure you follow the instructions step by step.
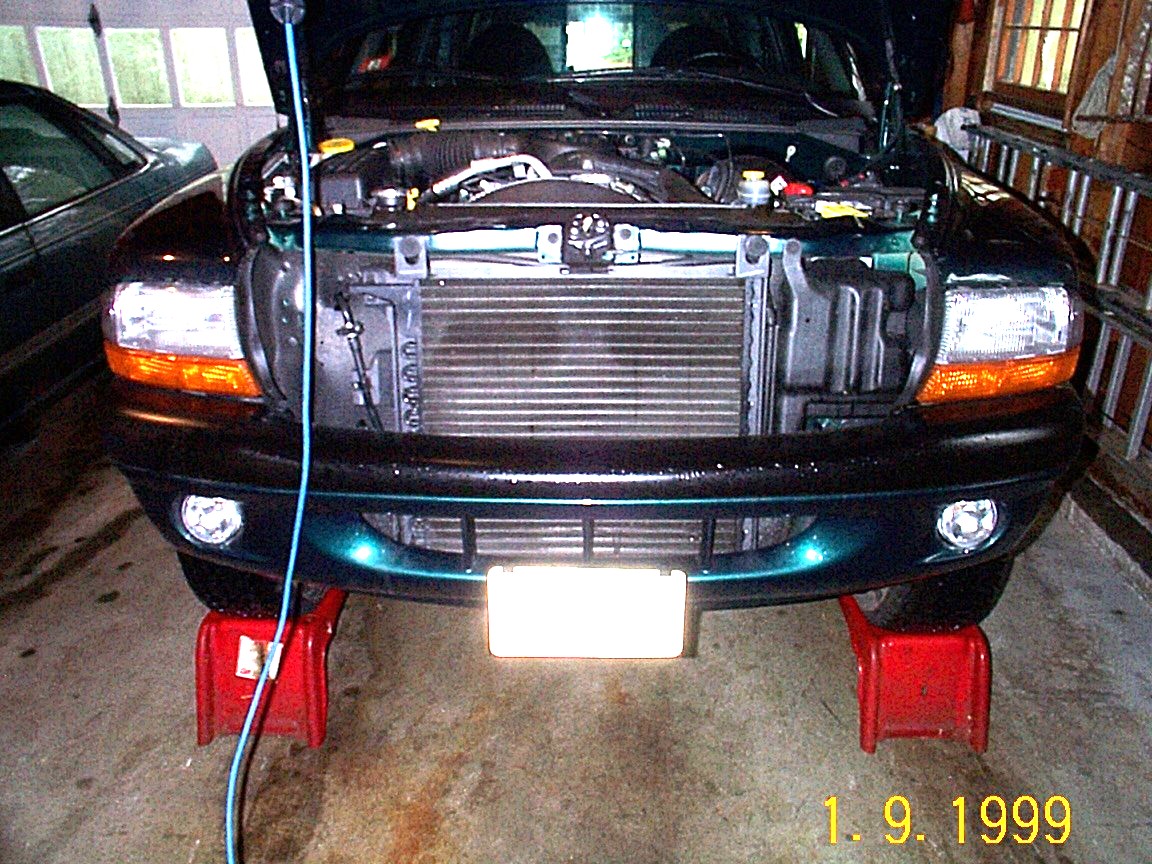
Start by raising your vehicle on some ramps, as there is nothing you need to get at via the engine compartment.
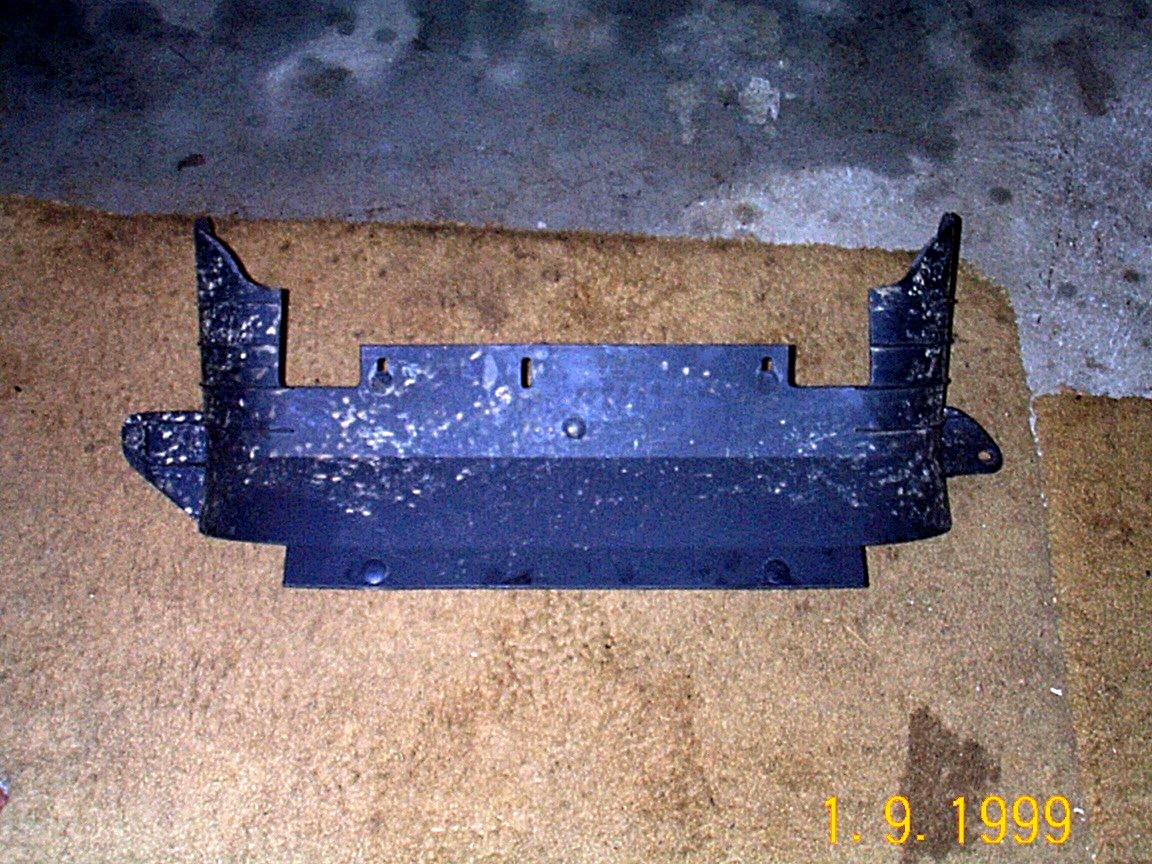
This is the removed splash shield. As I recall, the easiest way to remove the plastic tabs holding it on (and still re-use them) was to wedge them out a bit with a big flat bladed screwdriver and then use a pair of needle nose pliers to pop them out… It worked for me anyway.
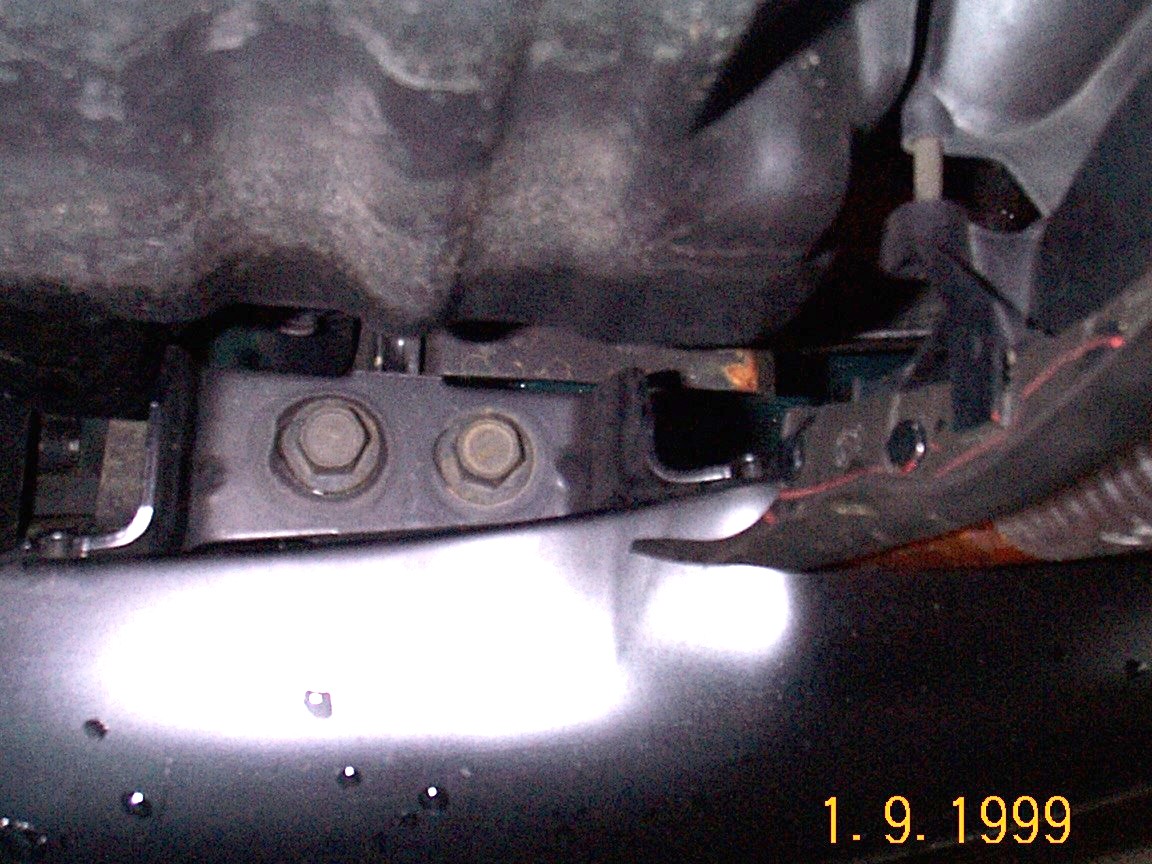
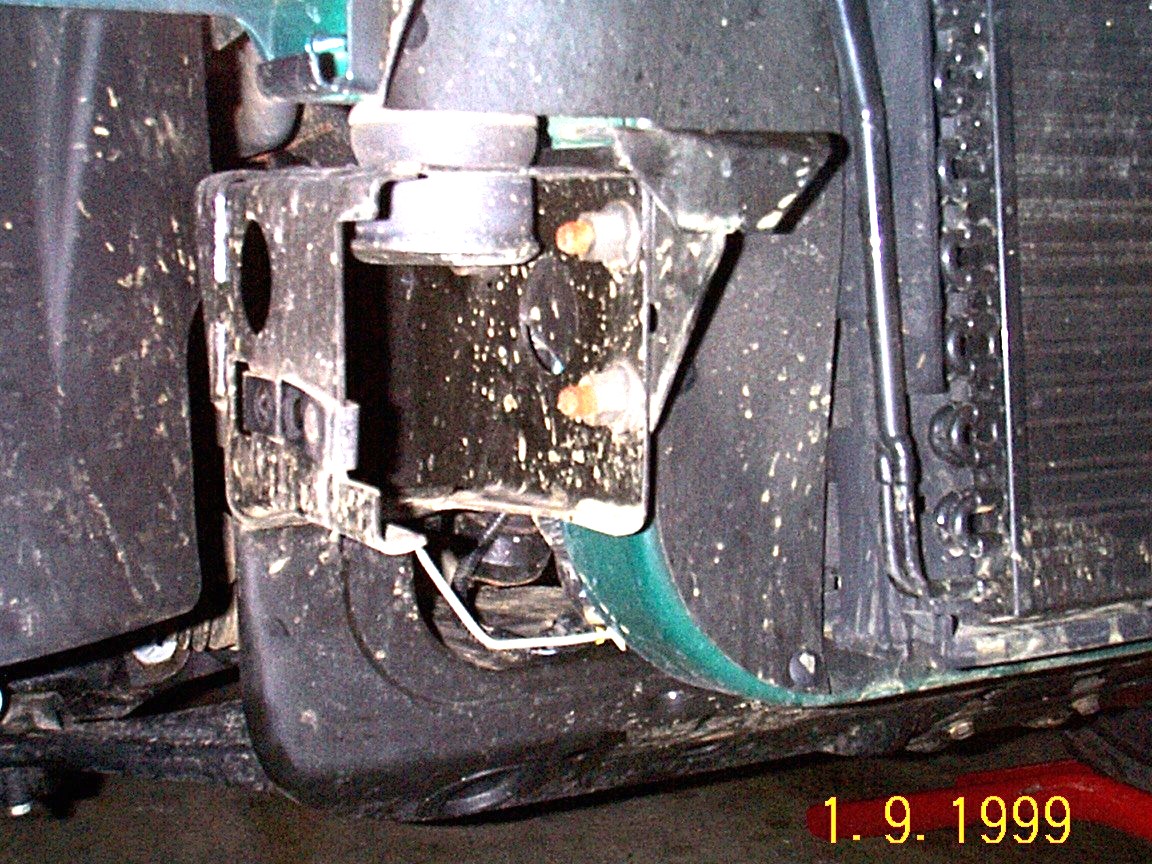
This is an "on-your-back" shot looking up at the "Lower Bumper Mounting Bracket". It’s the triangular piece in the lower left-hand corner. It’s not easy but you can get a wrench on these.

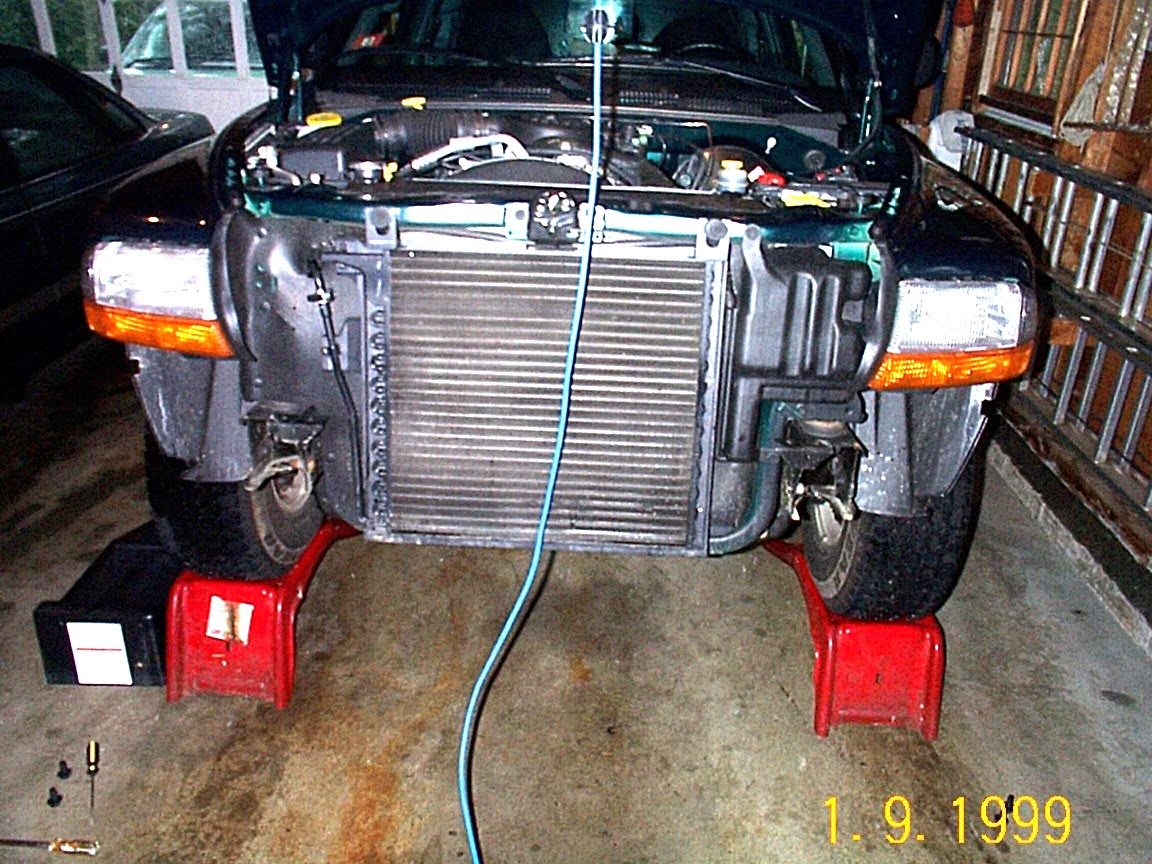
This is a shot of the right side "Upper Bumper Attachment Bolts". Once these are removed (and you followed all the previous steps) you can remove the bumper. Note that the bumper hooks onto the left and right wheel wells so you have to unhook them before you can take the bumper off easily.
This is just a neat shot of the bumper off the truck. Note on the left and right sides are the wheel well moldings that the bumper hooks onto.
Now comes the fun part!
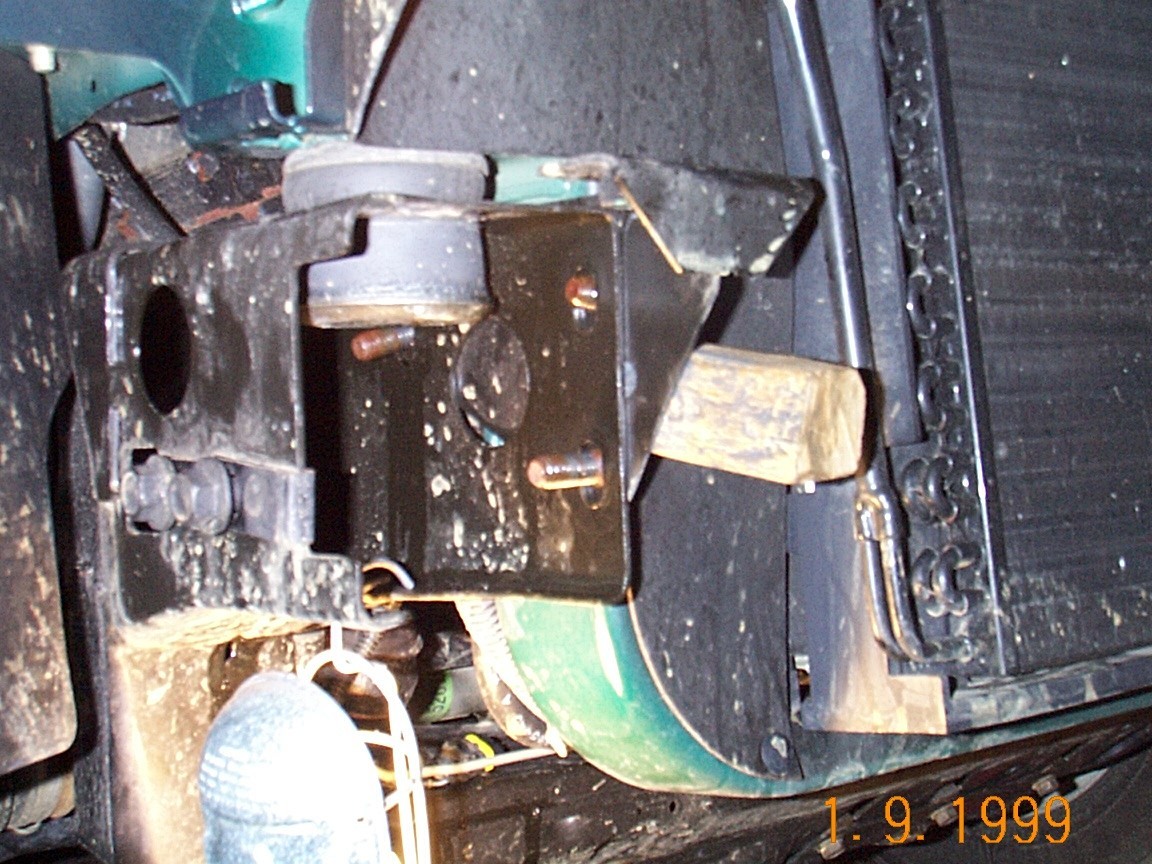
![]() These are the left side "nasty bolts" that you’ll need to bang out. Note the nuts are still attached… I found it easier to bang out the rear one first while leaving the nuts on the other two bolts. Leaving the nuts on added a bit of rigidity. Of course you’ll have no choice with the last one. You’ll need to use a shim in all cases as shown in the next pic.
These are the left side "nasty bolts" that you’ll need to bang out. Note the nuts are still attached… I found it easier to bang out the rear one first while leaving the nuts on the other two bolts. Leaving the nuts on added a bit of rigidity. Of course you’ll have no choice with the last one. You’ll need to use a shim in all cases as shown in the next pic.
This shim/wedge is actually just an old doorstopper we used to use for the garage door. It’s wedged between the radiator frame/support and the chassis frame rail.
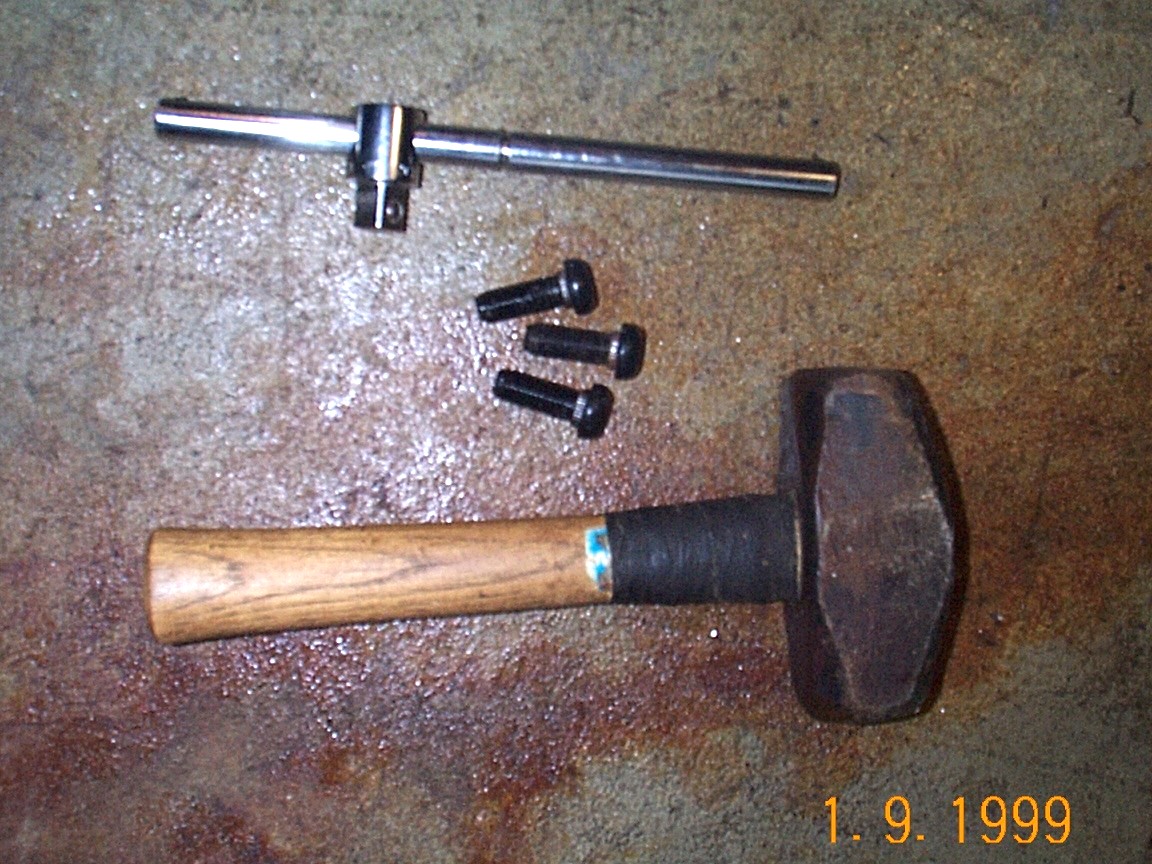
These are the implements of destruction necessary to bang those bolts out! Note that an old socket is missing that another DML’er suggested… If you do it this way (I.E. using a ˝" socket extension as a punch), use a socket! It will make life easier and your knuckles will thank you! Just put the socket on one end to act as a "cup" to keep the punch on the bolt while you whack away. I would also suggest spraying the bolts with liquid wrench or WD-40 prior to having a go at them.
The finished product.
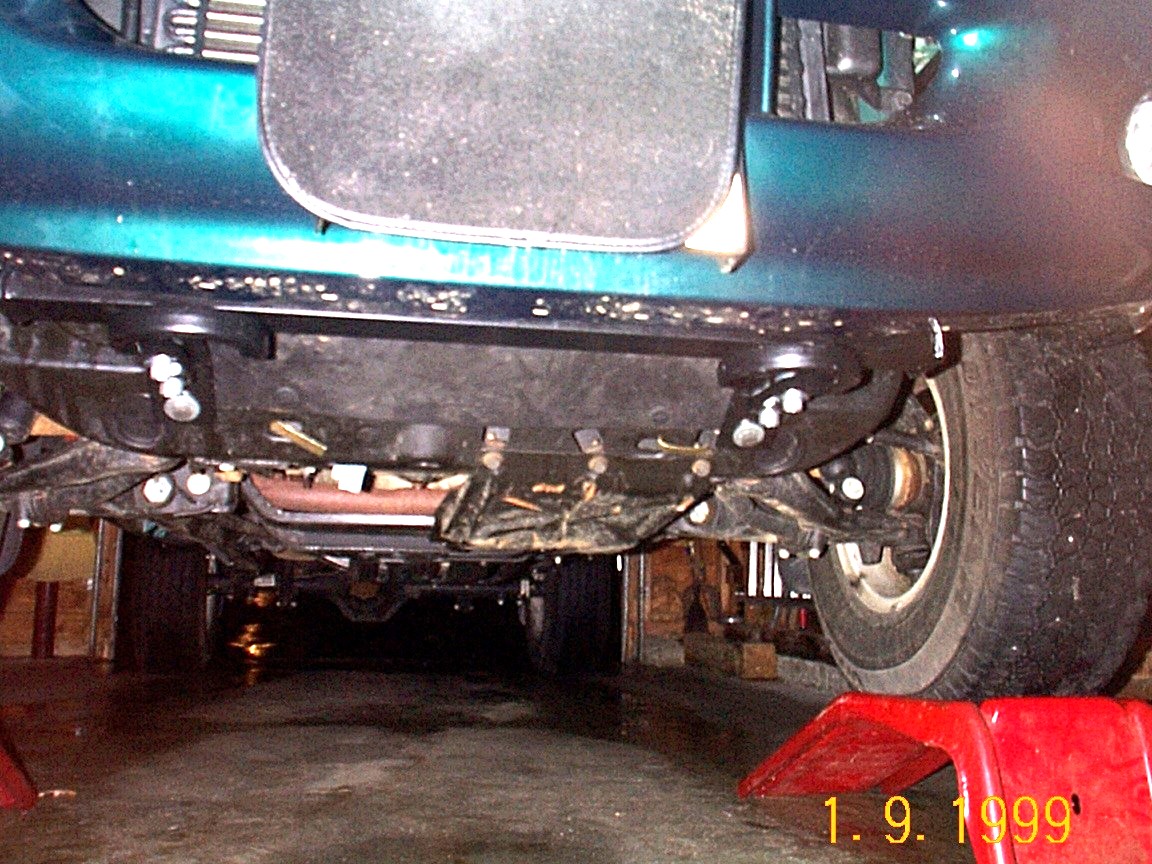
There are a couple of things to note here… First of all you can see where the "nuts on a stick" are inserted (look for the copper or brass colored "tabs" that are bent over to prevent them from rattling). Also note that I have not cut the splashguard at all. To do this I bolted the hooks onto the assembly prior to raising them into position. It took a little forcing but it worked and I was able to slip a wrench in to torque them down to the proper specs once mounted.

Well, that’s about it. As I said before the toughest parts were making sure I had the right parts and banging out the bolts. What I forgot to mention was that I had to use a dremel on one of the nuts-on-a-stick because they didn’t weld it on center with the nut whole. It wasn’t hard to grind some of the copper or brass out of the way, just a pain. Hopefully your kit will be better!
![]()
If you have any questions, feel free to send me a note to fawcett@bu.edu Otherwise, GOOD LUCK!
Tom Fawcett