Gen II seatbelt fix (sorta)...
Disclaimer: The information provided on this webpage is presented solely for the sake of information. Safety equipment such as seatbelts should never be tampered with and if any such equipment is malfunctioning it should be replaced with new components by a qualified repair shop immediately. Mikesdakota.com and it's owner in no way endorses or incourages any actions presented on this page and assumes no responsibility or liability for damages or injury attributed to any such modifications as may be listed below. Any person attempting these modifications aggrees to hold Mikesdakota.com and it's owner harmless of any liabilities financial or otherwise and understands that any modifications they may perform are done so at their own risk.
The following is a mod I performed on my truck to increase the return tension of the shoulder belts.The mod consists of two main parts, winding the return spring and lubricating the actual belt itself. The first part, winding the spring, is a very risky endeavor. If you lift the spring housing just a fraction of a millimeter too far the spring inside will pull off of the center spindle and immediately unwind itself. There is no bodily danger but it will be EXTREMELY difficult to rewind the spring should this happen. Not impossible mind you, but very difficult and requiring a lot of patience. For this reason I strongly suggest that you first try part two, lubricating the belt, and only then if you still need more return tension should you try part 1. The return spring is designed to provide uniform tension over the entire operating range. Putting extra winds into the spring *MIGHT* increase return tension if the spring is somewhat worn out at that particular point. Mine increased very little from the spring mod, but as weak as the return tension had become on mine I needed every extra bit that I could get.
![]()
Part 1: Winding The Spring
![]()
During this procedure you will loose all the pre-load tension on the spring if you lift the spring cover a mere fraction of a millimeter too far.
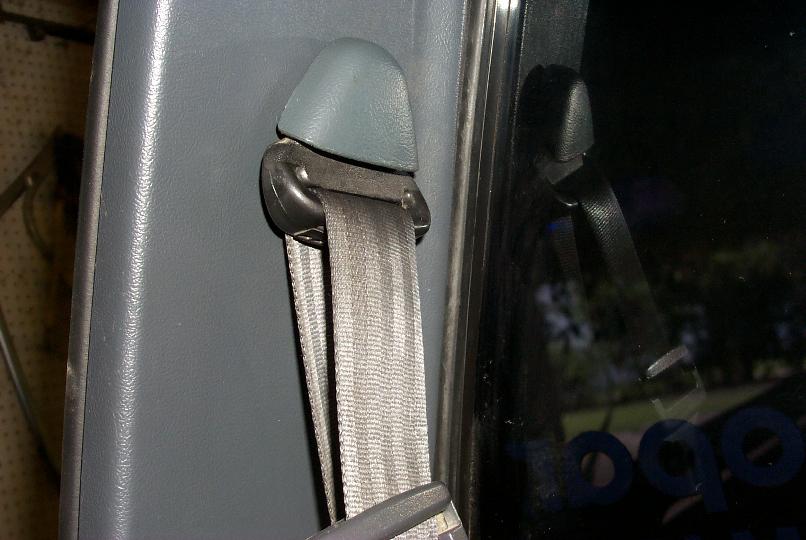
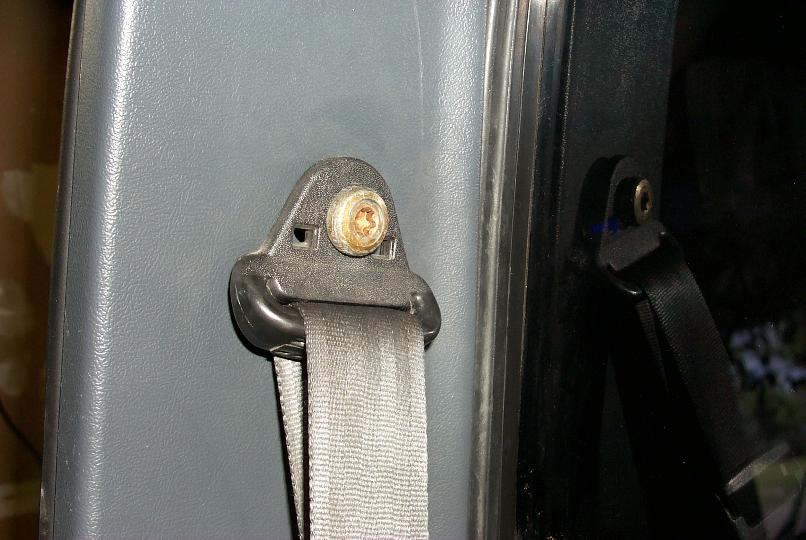
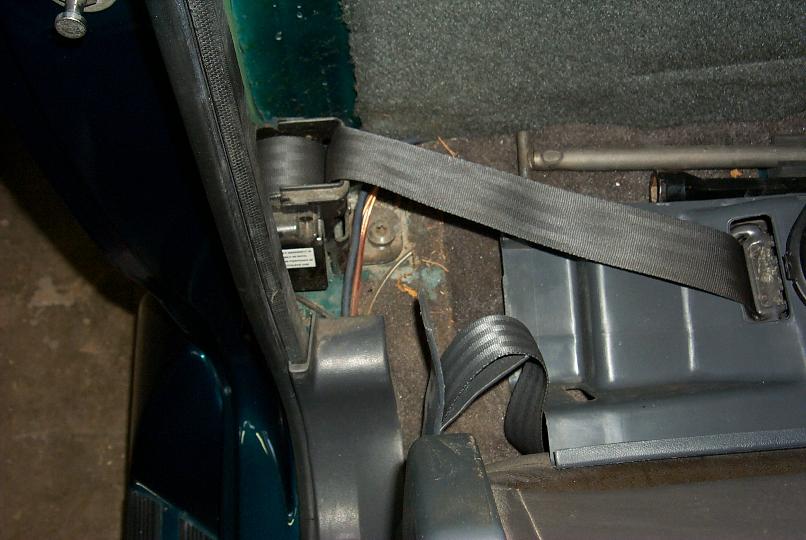
First remove theplastic cover which hides the torx
bolt attaching the top loop to the side pillar. You will need a T50 torx
bit for the anchor bolts.
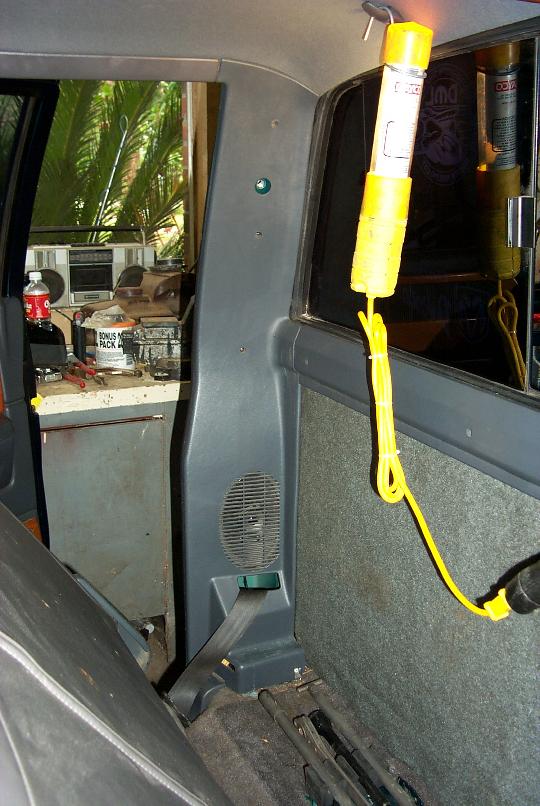
Next
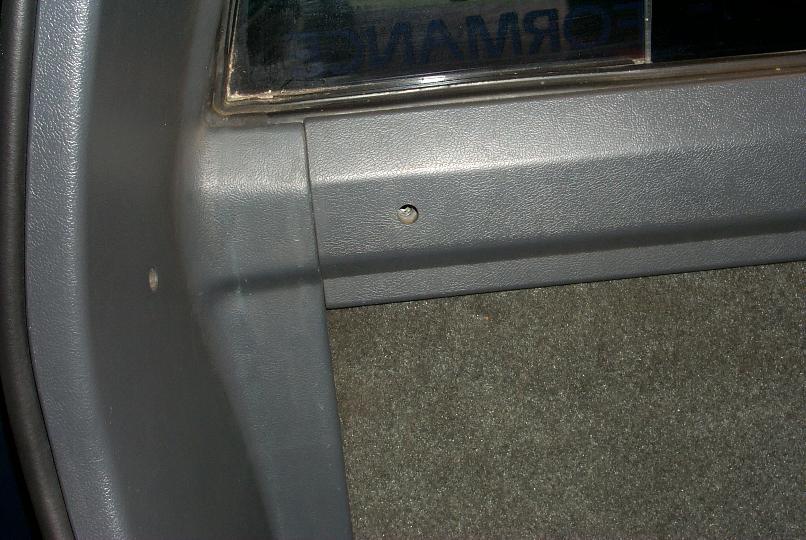
remove the trim along the back of the cab, the side pillar making sure not to
pull the speaker wires, and the bottom door sill cover.
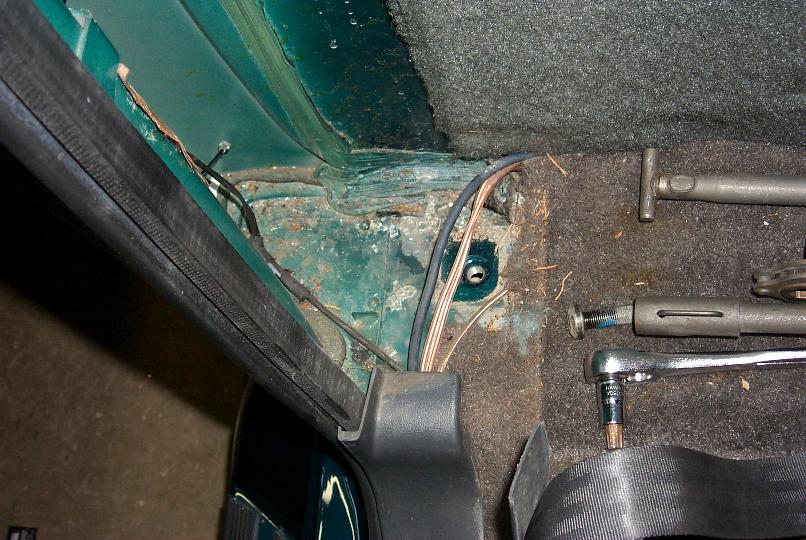
Next remove the two remaining torx
bolts, one securing the seat belt assembly, the other securing the lower
end of the seatbelt to the floor (not pictured). Now you can fish the belt through
the pillar cover and remove the entire assembly to a work bench (or
tailgate).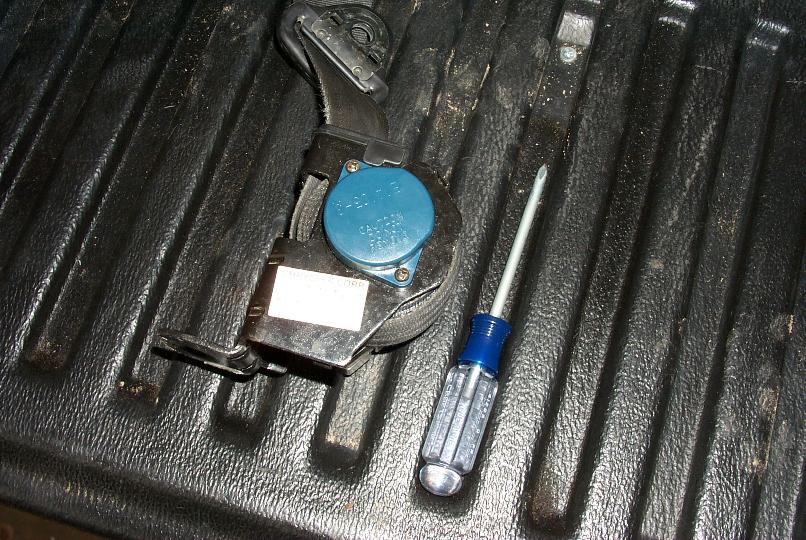
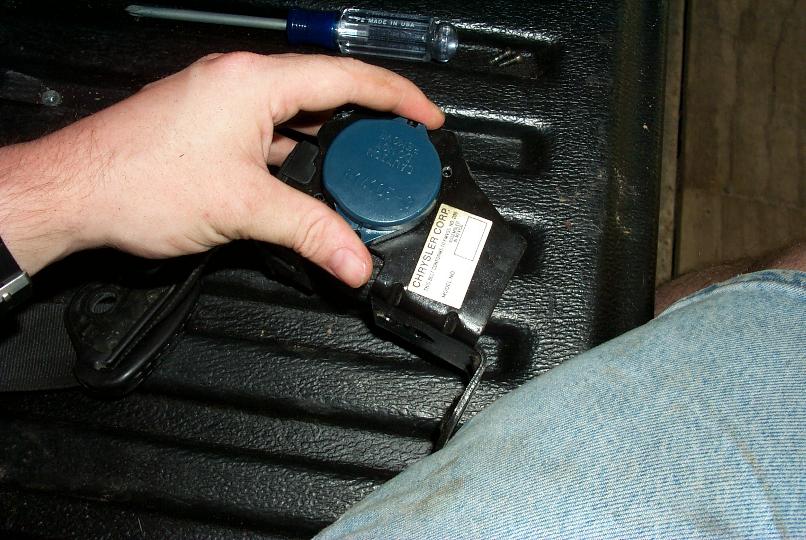
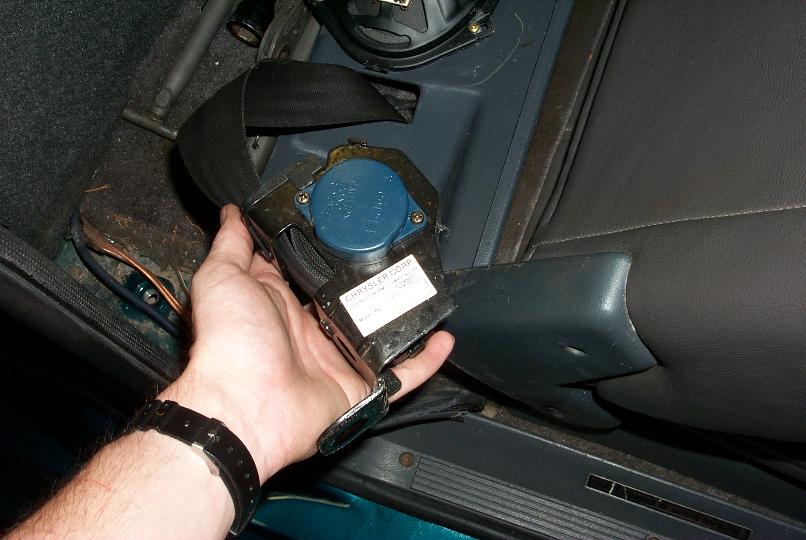
You should be able
to easily locate the blue spring cover, it has "CAUTION DO NOT REMOVE"
embossed into it.It is secured by two phillips screws. Remove these taking care to
keep pressure on the cover to prevent it from coming up
or rotating. This is the point of no return, you can chicken out now
and put the screws back in, or press on and risk loosing all the pre-load
tension on the spring. What you want to do is hold the cover like I'm doing
in the last photo -but use both hands, I had to use the other to take
the photo- with the screws removed, VERY, EXTREMELY CAREFULLY, lift the cover up
away from the black metal bracket. You only need to lift it JUST until you
can rotate it. The cover is keyed to the bracket so that it will not
rotate unless you lift it up a bit. VERY SLOWLY AND EASILY lift and twist
using both hands until you feel it clear the notches, at that point you can
rotate the cover in either direction. You will feel which direction the
spring is putting force on, just rotate against the springs force (I don't
remember which direction that was, I think it was counterclockwise but it will
be obvious to you). Put a few extra turns in the spring, I added about 6 or 7
complete revolutions. After several turns line the cover up with
the screw holes and put the screws back in. At this point you are
either happy you finished it without messing the spring up, or are saying to yourself
"@#!% I lifted it too far, now what do I do!?"
At this point, if it was successful, reattach the assembly by the three torx bolts (leave the trim off for now) and check to see if you can still fully extend the belt.Ā If not you will need to remove it again, and unwind a few turns out of the spring.Ā When you have it just right reassemble everything in the reverse order and you are done!